photo courtesy of Erin Scott at
Yummy Supper
in the
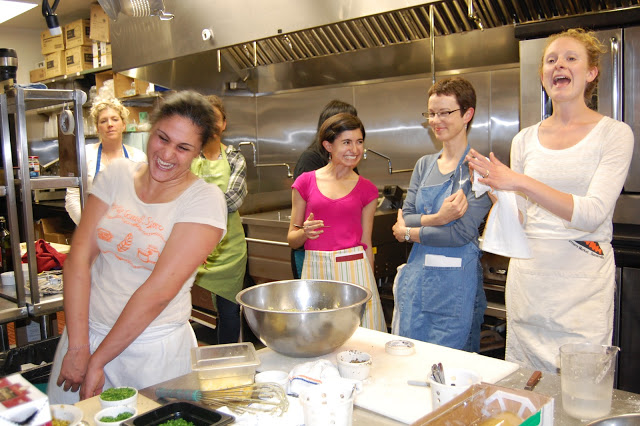
pantry basics and knife skills class
newly added to the
home ec
class series, we cook rice and beans together as part of our dinner, but i've neglected to include the recipe and method for either of those dishes in the handout. so, for all you faithful home ec students building up your pantries and cooking like grandmas, and for all of you other hungry, frugal folks out there, i present: rice & beans.
the base of both dishes is soffritto, about which
entire books
have been written. there's no way i could adequately describe the importance of a proper soffritto in the margins of another recipe, so i won't start. but, as a reminder, a traditional soffritto in italy consists of two parts red onion, one part carrot, and one part celery, each individually chopped until very, very fine, then combined and fried gently in olive oil until tender and golden. the cooking part should take at least 20 minutes, if not 40. don't rush it--this is where all of the flavor comes from.
other countries and cuisines have their own preferred proportions for
soffritto
(or
sofrito
): in spain, the celery and carrot are replaced by garlic and tomatoes. in cuba, it becomes a mixture of onion, garlic and bell pepper. whatever the combination, it's always minced finely and cooked till soft and caramelized. in class, because we work with onion, carrot and celery for other reasons, we make the rice and beans with that italianate soffritto. here, i'll write the recipes with a cuban-style sofrito. if bell peppers are not in season (and they are often not in season), i'll replace them with celery and sneak in a jalapeño.
sofrito
- 3 small (or one large) red onions, peeled
- 2 green bell peppers, cored and seeded
- 4 large cloves garlic, peeled
- olive oil
Separately, chop all three items until very fine. If you end up using a food processor, chop them all separately, pulsing and stopping often to scrape down the sides of the bowl with a rubber spatula. I prefer to do this by hand since the cell walls of the veggies are preserved with greater integrity when chopped by hand, preventing them (and you) from weeping too much.
Heat a saute pan over medium heat, then add generous amounts of olive oil. Once the oil is warm, add the vegetables and stir to combine. Let them start to brown a bit before turning down the heat. Stir as often as you need to to keep the sofrito from sticking or burning. Cook until soft and golden brown, about 30 minutes.
mexican rice
serves 4-6
- 2 cups long grain rice, such as basmati
- salt
- 1 small can of tomatoes (usually these are 14.5 ounce cans)--it doesn't matter if they are whole, chopped, or diced. and if you don't have tomatoes but do have tomato paste, we can make that work, too.
- half the sofrito you made above
- cumin
- olive oil
- water or stock
- cilantro, if you like
Before you start, measure out the liquid. Most basmati rice can take 2 cups of liquid for every cup of rice, though some long grain rices take only 1.5 cups per. Look at the package to determine the proper ratio for your rice, and if you don't know, just go with 2:1 and if the rice is a little mushy, make a mental note to adjust the ratio next time.
The liquid in which you cook rice is ripe with opportunity to flavor the dish, so pack in as much tastiness here as you can. I almost always cook my rice in chicken stock at home (because I'm almost always up to my ears in stock), but here the tomatoes serve as a portion of the liquid, bringing with them some extra flavor as well. Open the can of tomatoes, and if they are not chopped, squeeze or chop them to break them up. Dump the entire thing, including the juice, into a liquid measuring cup. It'll probably be somewhere around a cup and a half (if you are using tomato paste, simply dissolve a few tablespoons of tomato paste in water or stock and dump that into your measuring cup). Now, knowing that you need 4 cups total liquid, top off the tomatoes with the appropriate amount of stock or water to get you to 4 cups. Set this aside.
Heat a pan or small pot for which you have a lid, adding a splash of olive oil as it becomes warm. Pour in your rice and stir it around, letting it toast slightly and become lightly golden. When you are satisfied with how toasty the rice is, add the sofrito and stir, then a pinch or two of ground or whole cumin seed. Let that all fry together for a minute. Add some salt, then add the measured out liquid.
Crank up the heat and bring it all to a boil, then taste and adjust the salt. It's probably gonna need a lot of salt, folks. This is pretty much your only chance to get the thing properly seasoned, because you want the rice to get seasoned from the inside, and the only way to do that is to ensure that the liquid it's absorbing as it cooks is properly seasoned. You want to be just barely uncomfortable with how salty it is, because all of that starchy rice is gonna need more salt than you think to get seasoned to the right point. If you don't salt it enough now, you can of course add more salt right before you serve it, but it won't be the same.
Once it's come to a boil and you've salted it properly, cover with a lid and reduce the heat so it's just barely simmering. Let the rice cook until it's absorbed all of the liquid. Depending on the variety of rice, this may take anywhere from 20-45 minutes (and if you are doing this with Massa brown rice, which is SO TASTY prepared this way, it'll take over an hour). When all of the liquid has been absorbed, taste a few grains of rice...they should be cooked through and seasoned nicely. If for some reason there is any crunch remaining, add another splash of water or stock and let it continue to cook until absorbed.
When the rice is cooked through, stir in the tomatoes that have floated to the top, taste for salt and adjust if necessary. Serve with a little chopped cilantro, if you like.
beans
serves 4-6
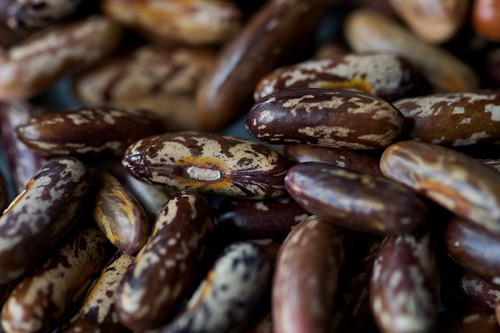
- 1/2 pound beans. i pretty much always use heirloom beans, but you can use whatever you like. in previous classes we have used vaquero and good mother stallard varieties from rancho gordo, but honestly, they are all good!
- a little epazote, dry or fresh
- if you have one, half an onion
- salt
- if you're superstitious like me, a pinch of baking soda
- the rest of the sofrito
- olive oil
if you can, soak the beans overnight in three times as much water. i even add a handful of salt at this point. if you can't do it overnight, a few hours is better than nothing. if you are in a big, huge legume rush, cover the beans with water and bring the pot to a boil. let it sit for fifteen minutes, then change the water and continue with the recipe.
if you've soaked the beans overnight, unless a huge clod of dirt has made itself apparent in the bowl, just use the same soaking water to cook the beans, topping off with more water as necessary. add a couple pinches of dry epazote or a sprig or two of fresh, and if you have it, half an onion. season with salt. add that pinch of baking soda, if you want.
bring the pot to a boil, then reduce to a simmer. skim any scum that rises to the top with a ladle, topping off with more water as necessary to ensure that the beans are covered at all times. cook until tender. for fresher dried beans this may take about 60-90 minutes, while for older dried beans this can take upward of three hours. don't rush it.
when the beans are tender, turn off the heat.
heat another pot, then add a splash of oil and the other half of your sofrito. let it sizzle for a moment or two, then start scooping the beans into this pot with a slotted spoon or spider. get all of the beans in there, and then start adding some of the bean liquid. you want the beans to be wet but not drowning in juice. let it all come together for a few minutes, then taste and adjust the salt.
if you want, garnish with salsa, chopped chilies, raw onion, or cilantro. up the cumin if you like, or serve with cheese and crema. get some fresh tortillas and make a meal of it.